Reka Bread Recipe
Reka Bread Recipe is loved for its soft texture and tasty flavor. It’s a top pick for those who enjoy baking their own bread. Making a soft loaf at home lets you control the ingredients and enjoy the freshness. This article will show you how to make Reka bread, highlighting its special qualities and offering tips for a delicious result.
As you learn to make bread, you’ll find joy in creating your own soft loaf. It’s a rewarding experience that brings satisfaction and deliciousness to your home.
Key Takeaways
- Reka Bread Recipe offers a unique softness that enhances the overall flavor.
- Baking at home gives control over ingredients and freshness.
- Creating a soft loaf at home requires specific techniques and patience.
- Homemade bread can be a healthier option compared to store-bought varieties.
- This recipe includes both essential and optional ingredients for customization.
Table of Contents
Introduction to Reka Bread Recipe
Reka bread has won the hearts of many with its soft texture and deep flavors. The history of Reka bread is rich, with different cultures loving this bread. It’s a favorite in many homes because it’s so versatile.
Reka bread is more than just food; it’s a key part of celebrations and family times. Families keep their Reka recipes alive, sharing them from one generation to the next. This keeps the tradition of making Reka bread alive.
In both bakeries and homes, Reka bread brings warmth and connection. Its unique qualities pair well with many dishes. This makes it a beloved classic in cooking.
What Makes Reka Bread Special
Reka bread is loved by many for its special qualities. Its soft crumb texture is a standout feature, making each bite a joy. The bread’s subtle sweetness also adds to its appeal, pairing well with different toppings.
Traditional baking methods are key to Reka bread’s charm. The choice of ingredients and how they’re mixed and baked all matter. These steps help create a bread that’s both light and fulfilling.
Knowing what makes Reka Bread Recipe special is important for home bakers. Its unique traits and tasty flavor make it a treat to make and eat. Enjoying Reka bread means savoring a mix of taste and texture, enjoyed by many.
Reka Bread Recipe: The Ingredients You Need
Making the perfect Reka bread starts with knowing the key ingredients. The mix of ingredients is crucial for the bread’s texture and taste. Looking at the list of best ingredients for bread helps understand each part’s role in the final loaf.
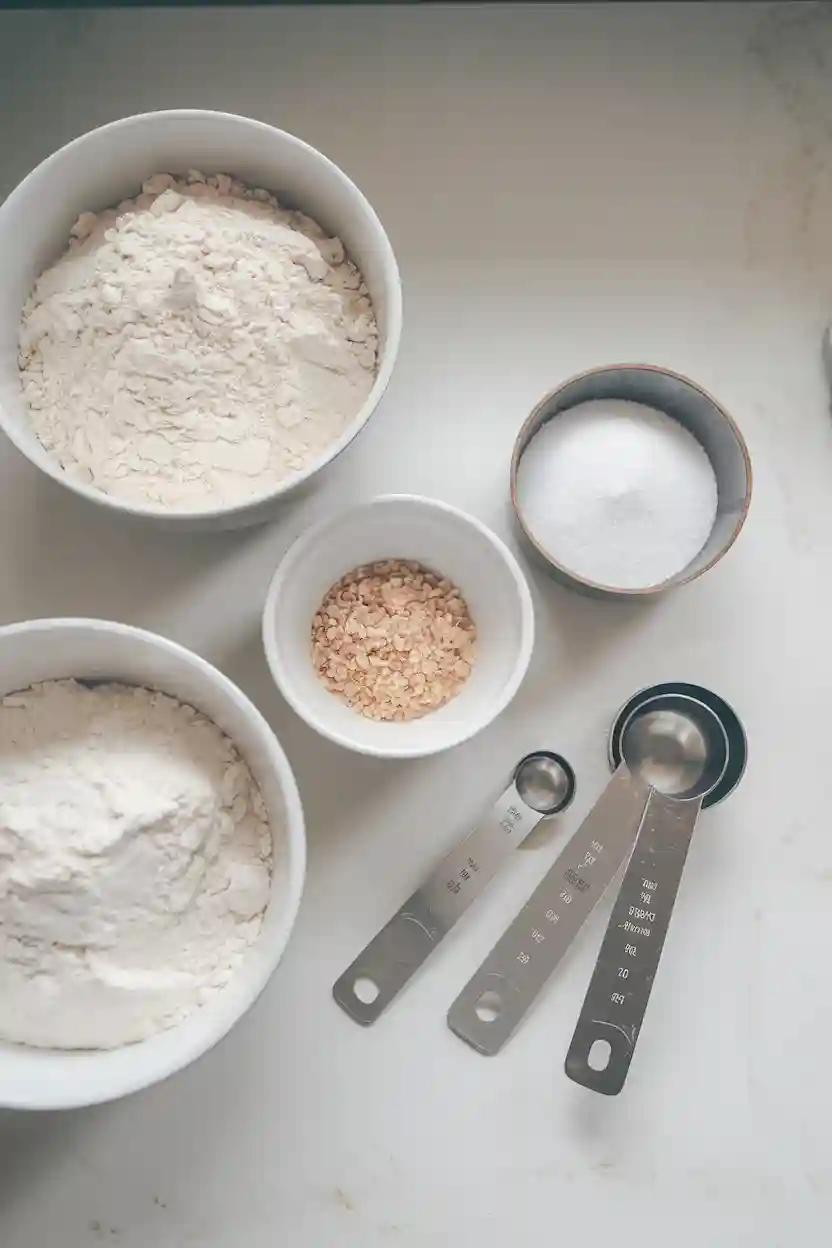
Essential Ingredients for Soft Loaf
- Flour: The base of any bread, all-purpose flour is key for Reka bread. It gives the bread its structure and softness.
- Yeast: Yeast is essential for fermentation. Active dry yeast or instant yeast is best for a good rise.
- Water: Water is important for dough development. Warm water helps activate the yeast, leading to a successful bread.
- Salt: Salt boosts flavor and strengthens the gluten, improving the bread’s quality.
Optional Add-Ins for Flavor Variations
To make Reka bread your own, try adding different ingredients. These can change the flavor and make each loaf special:
- Herbs: Fresh or dried herbs like rosemary or thyme add a nice aroma.
- Nuts: Chopped walnuts or pecans add crunch and richness.
- Seeds: Flaxseeds or sunflower seeds improve texture and nutrition.
Step-by-Step Guide to Making Reka Bread Recipe
Making Reka bread starts with getting your ingredients ready. Before mixing, make sure your space is clean and your ingredients are measured right. This step is key to making a great Reka bread dough and a tasty homemade loaf.
Prepping Your Ingredients
First, collect all the ingredients you need like flour, yeast, water, and salt. Using top-notch ingredients will make your bread taste better. It’s important to measure everything accurately. A digital scale is the best tool for this.
- Measure flour using weight for precision.
- Activate yeast in warm water before adding it to the mixture.
- Keep all utensils and surfaces clean to avoid contamination.
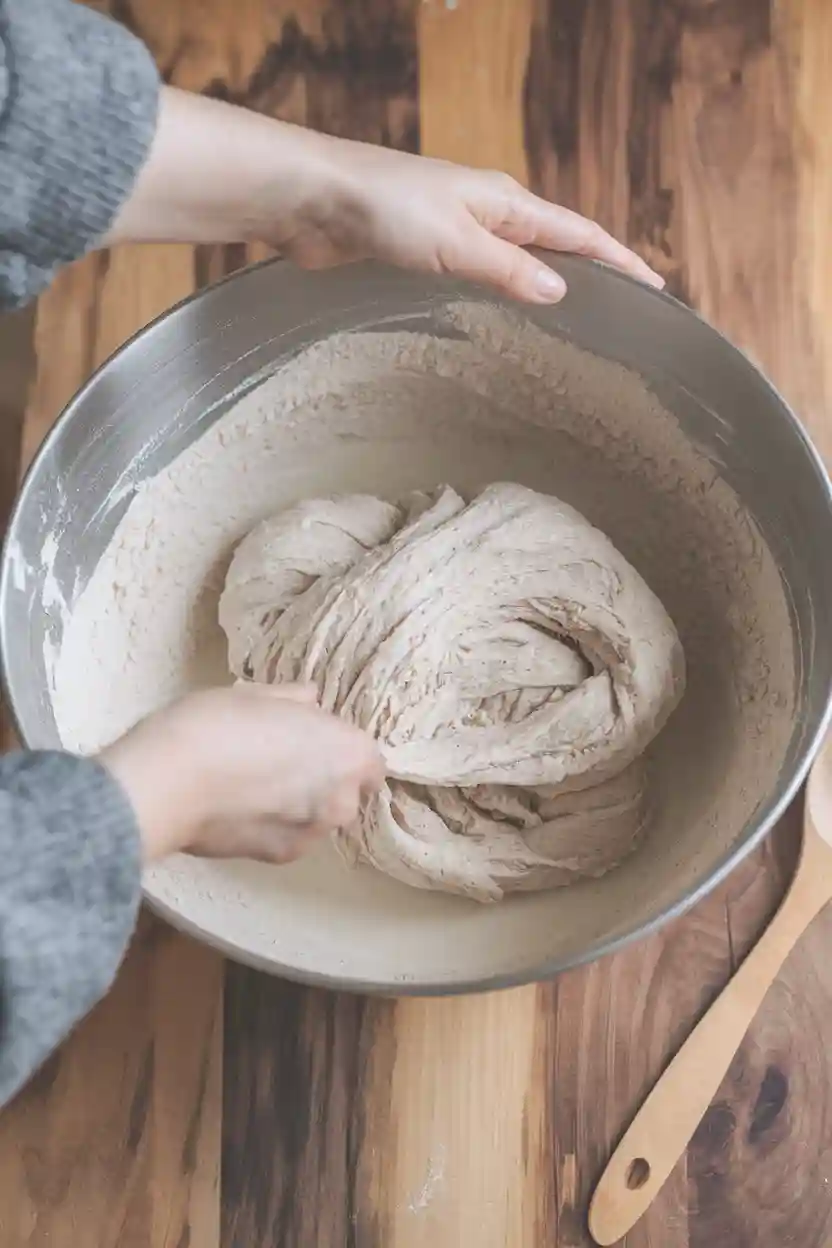
Mixing the Dough to Perfection
Now that you have your ingredients, it’s time to mix them together. Start by mixing the dry ingredients in a bowl. Make a well in the center and add the wet ingredients. Use a wooden spoon or dough whisk to mix until it’s a shaggy mass.
Then, knead the dough. This step is crucial for developing gluten and making the dough elastic. This is what makes your loaf perfect.
Check the dough’s texture during preparation. It should be a bit sticky but still smooth. If it’s too dry, add a little water at a time. If it’s too sticky, a bit of flour will help.
Understanding the Dough Consistency
The dough consistency for Reka bread is crucial for great results. For beginners, knowing the perfect dough texture is essential. It should be smooth, elastic, and slightly tacky, stretching well without tearing.
Many things affect the dough’s consistency, like flour type and humidity. A mix of water, flour, and yeast is key for the right texture. Bakers might struggle with dough that’s too sticky or dry. To fix this, add flour or water as needed.
Here’s a table comparing different dough consistencies:
| Dough Condition | Description | Adjustment Tips |
|---|---|---|
| Too Sticky | The dough clings to hands and surfaces. | Add flour gradually until achieving a workable consistency. |
| Too Dry | The dough is crumbly and hard to knead. | Incorporate water or warm milk in small increments. |
| Just Right | Soft, elastic, and slightly tacky without sticking excessively. | No adjustments needed. |
Getting the dough just right for Reka bread makes baking better. It leads to fluffy, tasty bread that everyone loves.
How to Knead Reka Bread Dough
Kneading is key to making Reka bread soft and chewy. It helps develop gluten, which is essential for a great texture. There are different ways to knead dough, each helping to form gluten. Here are some tips to knead your dough effectively.
Tips for Effective Kneading
Using the right kneading techniques can change your dough’s texture. Here are some tips for kneading bread well:
- Stretch and Fold Method: Stretch the dough away from you, then fold it back. This builds gluten without too much force.
- Time and Patience: Knead for 10 to 15 minutes until the dough is smooth and elastic. Kneading consistently is important.
- Watch the Dough: The dough should feel slightly tacky but not too sticky. Add flour if needed to get the right feel.
- Alternative Techniques: If you’re short on time, a stand mixer can be helpful. Mix at low speed for 5 to 8 minutes until it pulls away from the bowl.
- Resting Periods: Take breaks between kneading. This lets gluten relax, making the dough easier to work with.
Letting the Dough Rise
Letting the dough rise is key in bread-making. It unlocks flavors and ensures the right texture. Knowing the science of fermentation can make homemade Reka bread better. Good dough rising tips lead to loaves that rise beautifully.
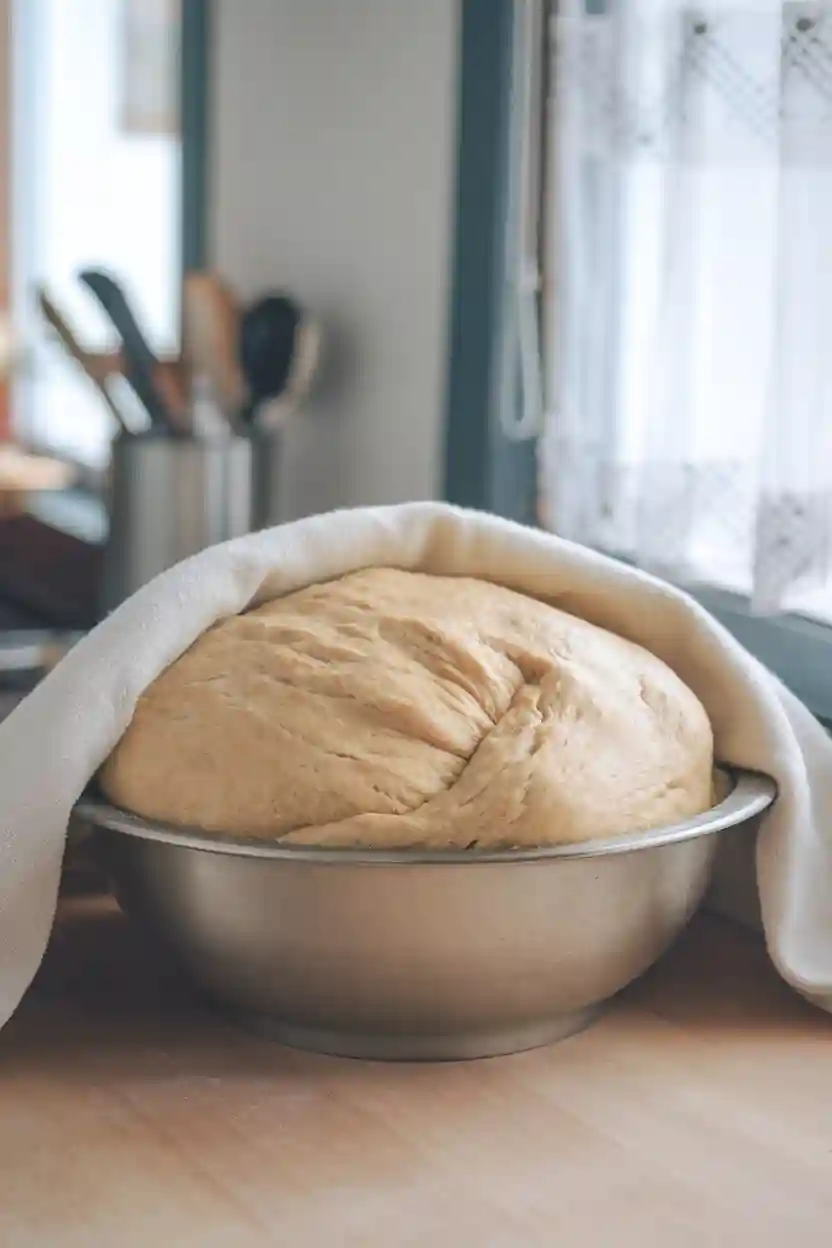
Optimal Rising Conditions
For Reka bread to rise well, the right conditions are needed. A warm, humid place is best. Aim for a temperature of 75°F to 80°F to help yeast work. Here’s how to set up the perfect spot:
- Preheat the oven slightly, then turn it off before placing the dough inside.
- Use a warm, draft-free spot, such as on top of the refrigerator.
- Cover the dough with a damp cloth to keep it moist.
The Importance of Proofing Time
Timing is crucial for the dough’s structure. Proofing time changes with room temperature and flour type. Too quick can make bread dense. But, letting it rise fully makes it perfect. Aim for it to double in size, usually 1 to 2 hours.
Baking Your Reka Bread Loaf
The baking process is key to getting the right taste and texture in Reka bread. Knowing the right baking temperature and time is crucial. It helps in getting a golden crust and a soft inside. With the right techniques, anyone can bake Reka bread perfectly.
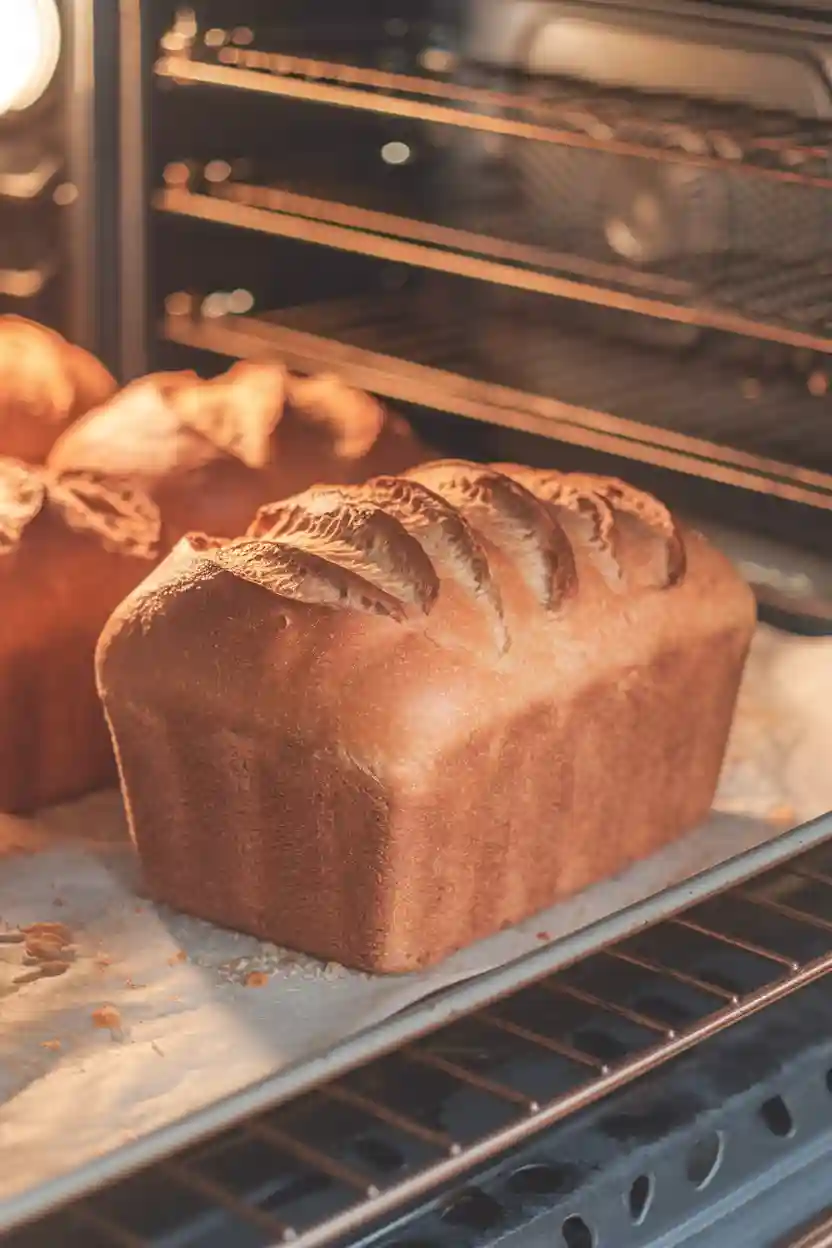
Choosing the Right Baking Temperature
The baking temperature greatly affects your loaf’s outcome. Preheat your oven to 350°F to 375°F. This range helps the bread rise well and get a beautiful crust. Using an oven thermometer ensures accurate temperature, leading to better results.
Timing for the Perfect Bake
Finding the perfect baking time is essential for a great loaf. Bake Reka bread for 30 to 35 minutes to get a deep, golden color. After baking, tap the loaf’s bottom. If it sounds hollow, it’s done. Watching the bread’s appearance and sound helps achieve its delightful softness.
How to Store Your Reka Bread
Keeping Reka bread fresh is key. There are several ways to do this, each with its own benefits. By following the right tips, your bread can stay soft and tasty for days.
Using a bread bag, whether made of cloth or paper, is a great choice. It lets the bread breathe while keeping it dry. Airtight containers, on the other hand, keep moisture in but might make the crust soft.
Freezing is a top choice for longer storage. Wrap the bread in plastic or foil, then put it in a freezer-safe bag. This way, your bread stays fresh for weeks, still tasting great.
If your bread gets stale, don’t worry. Just pop it in the oven for a quick refresh. These tips will help keep every slice fresh and enjoyable.
Creative Ways to Use Reka Bread
Reka bread is great for many dishes. It’s tasty and versatile, perfect for any meal. Here are some fun ways to use Reka bread to make your meals better.
Suggestions for Serving
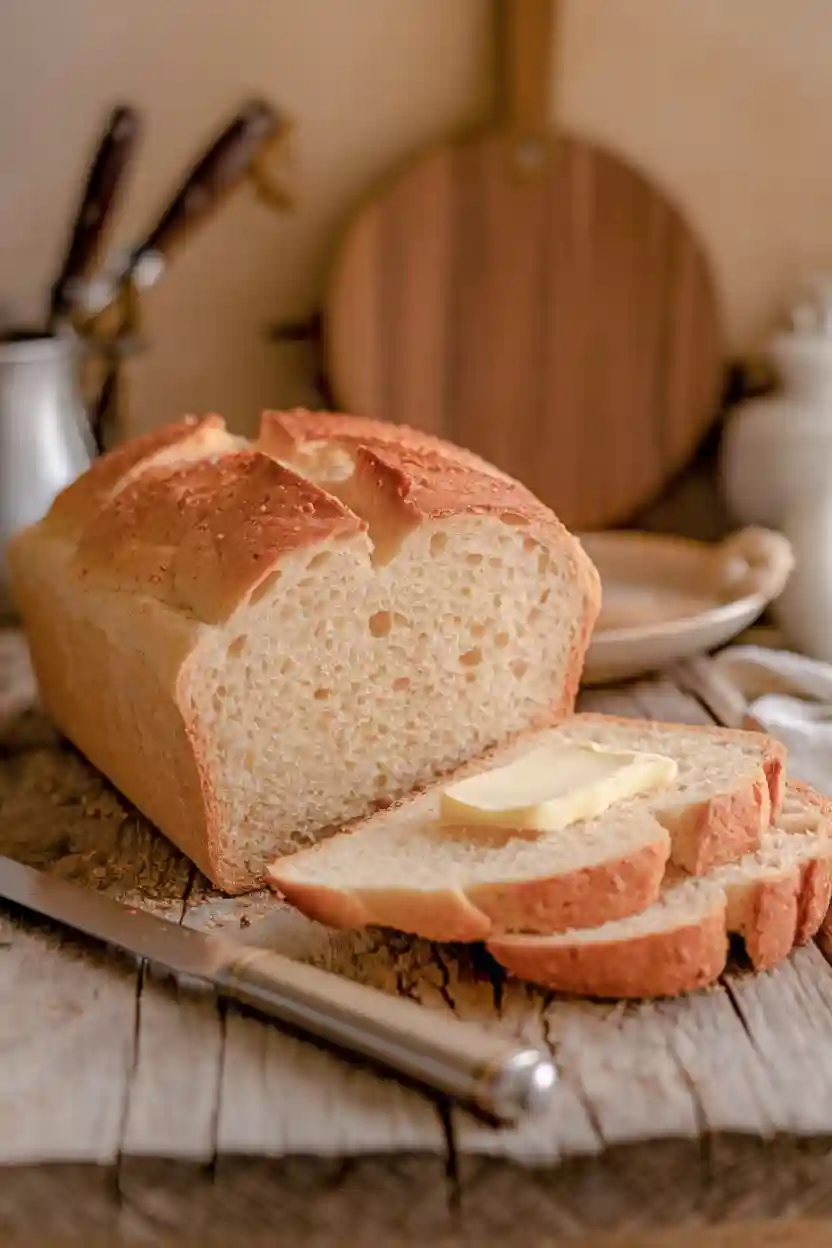
- With butter or spreads: Enjoy Reka bread warm with butter, cream cheese, or your favorite spread. It’s simple yet delicious.
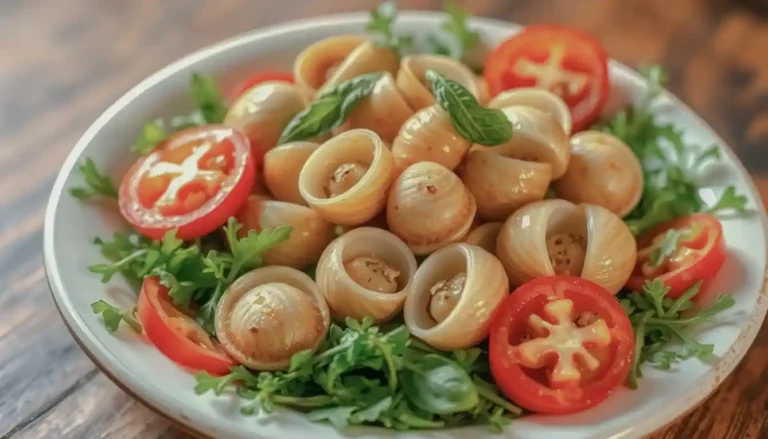
- In sandwiches: Make tasty sandwiches with Reka bread. Add meats, cheeses, and veggies for a great lunch or picnic.
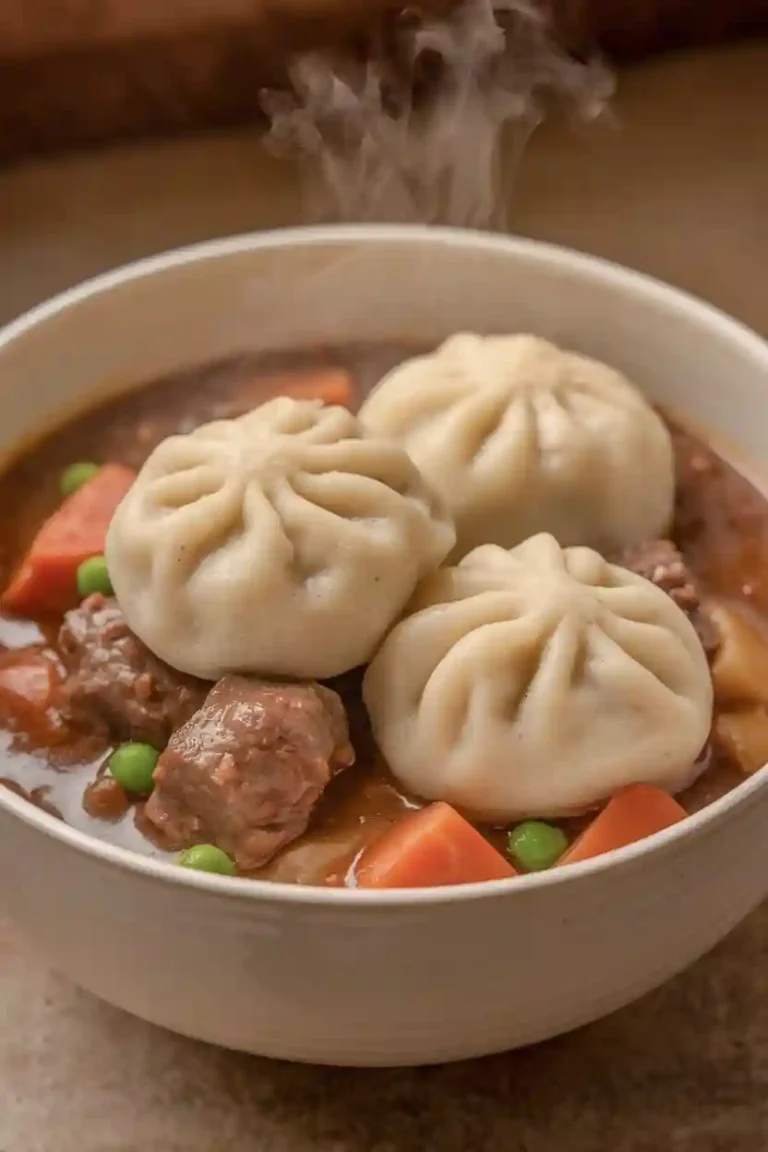
- With soups and stews: Reka bread is perfect for sopping up soup and stew flavors. Its softness pairs well with savory dishes.
- As toast: Toast Reka bread for a crunchy texture. Top it with avocado, eggs, or fruits for a tasty breakfast or snack.
Leftover Reka Bread Recipes
Don’t waste leftover Reka bread. There are many recipes that can turn it into tasty dishes.
- Bread pudding: Make a comforting bread pudding with stale Reka bread, eggs, milk, and spices. Bake until golden for a sweet treat.
- Croutons: Cut leftover Reka bread into cubes, season, and bake until crispy. These croutons add crunch to salads and soups.
- French toast: Slice leftover bread for a quick French toast. Dip in egg mixture and fry until golden for a yummy breakfast.
Common Mistakes to Avoid When Making Bread
Baking Reka bread at home can be rewarding but comes with challenges. Many bakers face bread-making mistakes that ruin their results. Knowing these mistakes is key to improving and getting that perfect loaf.
One big issue is wrong ingredient measurements. It’s vital to follow the recipe exactly. Even a small mistake can change the dough’s consistency. Start by checking your measurements with kitchen scales for a balanced mix.
Another common mistake is kneading too little or too much. Not enough kneading makes the bread dense. Too much makes it tough. Aim for a smooth, elastic dough for a light texture.
Not giving the dough enough proofing time is another mistake. Proofing lets yeast ferment and expand, crucial for the right rise. Be patient and watch for when the dough doubles in size.
Fixing these bread-making mistakes will make making Reka bread better. Focus on the right techniques to turn baking into a fun and successful experience.
Benefits of Homemade Reka Bread Recipe
Making Reka bread at home has many benefits. It lets you choose the best ingredients, which boosts its taste and health value. Using whole grains and fresh herbs or seeds adds flavor and nutrition, making it a great meal addition.
Nutritional Advantages
The nutrition in homemade Reka bread is impressive, especially with whole grains or seeds. Whole grains help with digestion and keep blood sugar stable. Adding flaxseed or sunflower seeds brings in more fiber and healthy fats, showing the bread’s health benefits.
Also, making your own bread means you can avoid preservatives and additives found in store-bought bread. This makes Reka bread a healthier choice. You can also make different versions to fit your dietary needs, ensuring a nutritious loaf every time.
Conclusion
Reka bread recipe is a favorite among home bakers. It’s known for its soft texture and delightful aroma. Making it from scratch is a rewarding experience.
The article covered essential ingredients and techniques. It also shared creative ways to serve this homemade treat.
Reka bread is not just delicious but also brings joy. With care and creativity, anyone can make their own version. This makes the process fulfilling and rewarding.
It’s encouraged to try bread making and experiment with different flavors. This way, you can find the perfect version for your taste.
Making Reka Bread is more than cooking. It’s about feeling accomplished and connecting with baking traditions. Enjoy the flavors and memories each loaf brings.
FAQ
What are the essential ingredients for making Reka Bread Recipe?
To make Reka Bread, you need flour, yeast, water, and salt. Each ingredient is key to the bread’s fluffy texture and rich taste.
How can one achieve the perfect dough consistency for Reka Bread Recipe?
For the perfect dough, it should be smooth and elastic. If it’s too sticky, add more flour. If too dry, a bit of water helps.
What is the best way to let Reka Bread dough rise?
Let the dough rise in a warm, humid place. Use a damp cloth or plastic wrap to keep it moist and aid fermentation.
How long should Reka Bread be baked for optimal results?
Bake Reka Bread at 375°F (190°C) for 25-30 minutes. Look for a golden crust and a soft inside.
Can Reka Bread be stored for later use?
Yes, store Reka Bread in an airtight container at room temperature or freeze it. Reheating day-old bread can make it soft again.
What are some popular variations of Reka Bread?
You can add herbs, nuts, or seeds to the dough for extra flavor. This lets you make the bread your own way.
What are the nutritional benefits of making Reka Bread at home?
Homemade Reka Bread lets you choose high-quality ingredients. Using whole grain flours or seeds can increase fiber and nutrients, making it healthier.
Is it possible to repurpose leftover Reka Bread?
Yes, you can turn leftover Reka Bread into bread pudding or croutons. It’s a great way to use up the bread and enjoy it in new ways.
What common mistakes should be avoided when making Reka Bread?
Avoid mistakes like wrong ingredient measurements, not kneading enough, and skipping proofing. Fixing these can help you bake a great loaf.
How can one make flour for Reka Bread from scratch?
To make flour from scratch, grind grains like wheat with a grain mill or high-power blender. This makes fresh flour with great flavor and nutrition.
What are some creative serving suggestions for Reka Bread?
Enjoy Reka Bread with butter, in sandwiches, or with soups and stews. Its versatility makes it a great addition to many meals.